")
This is a continuation of a multi-part guide. See Part 1 to get started.
In this guide, we’ll be using React Native to build the apps. Please note, you do not need React Native to build Android apps. This is merely a personal choice. Developing Android Apps requires two basic components: Java SDK and Android SDK. Both will be installed and configured by the end of this section.
Android Development with React Native
Following the previous section, we will trigger a second shell window to illustrate we aren’t limited to just one shell environment.
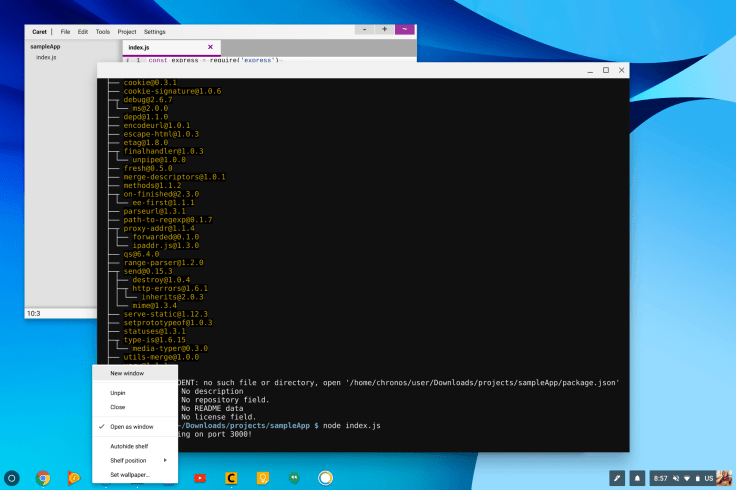
Right Click on Secure Shell and select New Window.
Access the crosh shell as you would normally. We’re going to start by installing the React Native command line tool.

Run npm install -g react-native-cli from the shell install the tool. Next we’ll want to initiate a react-native project. Instead of creating a directory from shell, we’ll let the React Native command line tool do it for us.
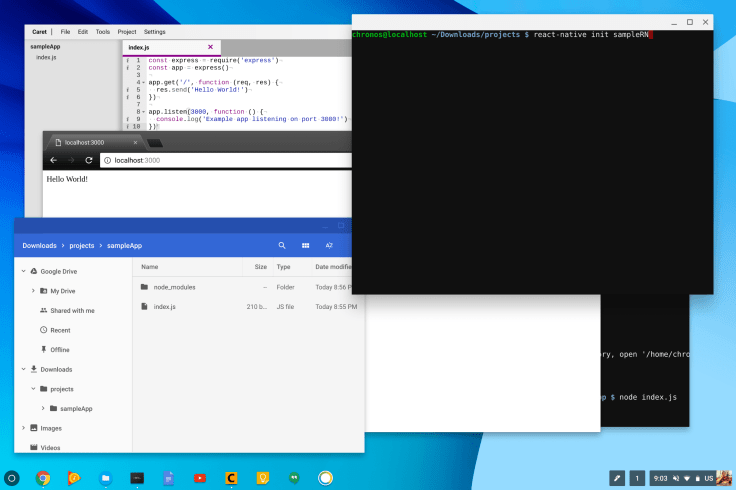
From the projects folder run react-native init sampleRN to create the sampleRN project.

This takes a bit of time to set up, but you can monitor progress with the Files app.

Once the installation is complete we can see that the sampleRN folder was created with many files within. Let’s try to build and test the android package. We can type react-native run-android to start the process.

Note that the process fails because Java is not installed. From Chrome, we’ll want to download the latest version of the Java JDK from:
http://www.oracle.com/technetwork/java/javase/downloads/index.html
Pick the architecture that matches your machine. For this guide, I used a Samsung Chromebook Pro, so I selected Linux x64. Make sure you chose the .tar.gz file to download.
Once downloaded we will now extract the file in shell.
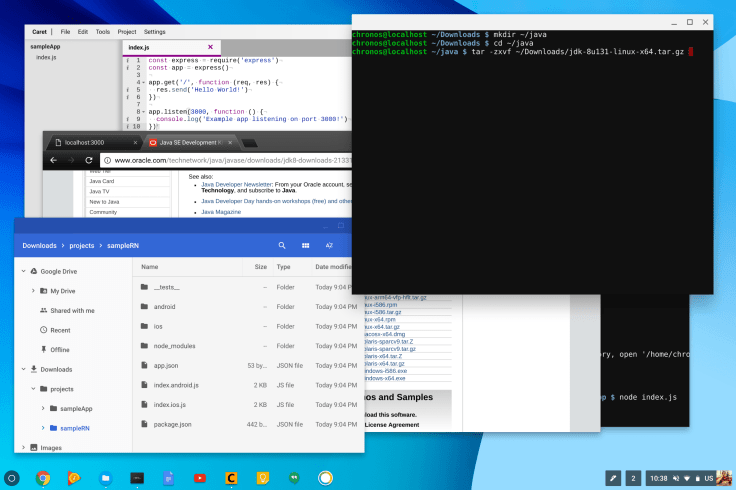
Let’s start by typing mkdir ~/java to build a java folder in our home path. To make extraction easier, type cd ~/java to navigate to the folder. Now let’s extract with tar -zxvf ~/Downloads/jdk-8u131-linux-x64.tar.gz but not that the filename may not be the same as in this example.

Perform a ls to list the files to ensure that the files extracted properly. Note the folder name and copy it to clipboard. Highlighting it will automatically copy it to clipboard. Now let’s modify our startup script with nano ~/.bashrc to add the necessary environment variables.
Ensure you add the following lines:
export JAVA_HOME="$HOME/java/jdk1.8.0_131"
export PATH="$PATH:$JAVA_HOME/bin"
Note that the folder name be different in your case. You can paste from the clipboard by right clicking the shell window with the mouse.

Here’s what my ~/.bashrc file looks like now. Restart your shell for the changes to take effect. Now we will try building the React Native project again.
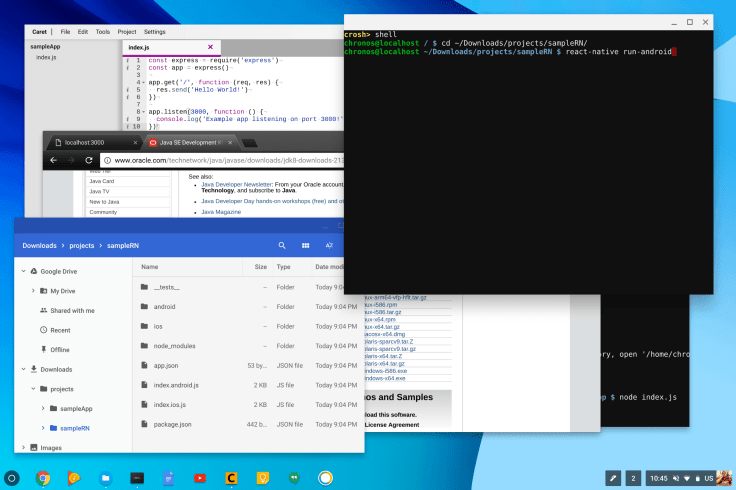
We shouldn’t get any Java error this time, but we should now get Android SDK related errors.
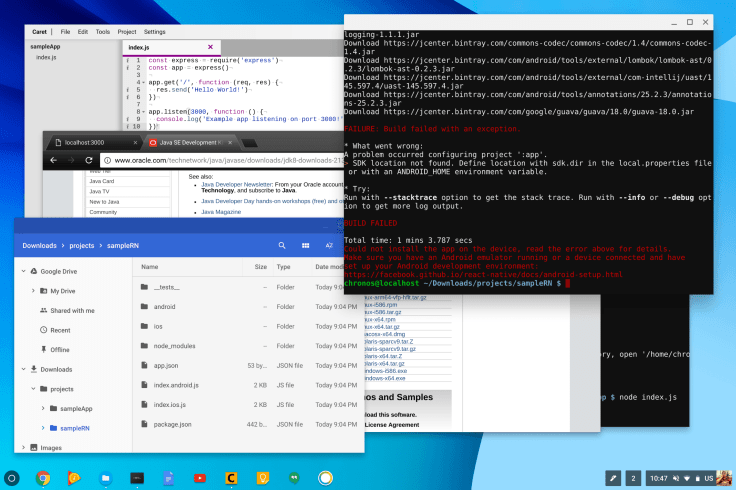
Notice that the build process fails because ANDROID_HOME cannot be found. Now let’s the necessary files from the Android website.
https://developer.android.com/studio/index.html#downloads
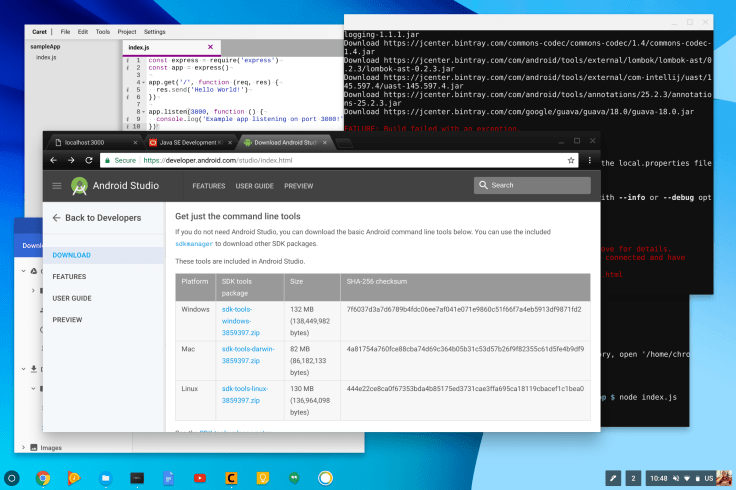
While the website mentions Android Studio, we won’t be using it. Instead, scroll down to the command line tools and download the Linux version.

Once the download is complete, open that zip file from the notification window or from the Downloads folder.

You’ll find a tools folder inside the zip file. Drag that over to Downloads and wait for it to finish copying.

Just like with the Java SDK setup, we need to perform similar operations here. Create a folder called .android in the home directory with a mkdir /.android command. Don’t worry if the folder already exists. Now create an sdk subfolder with mkdir ~/.android/sdk where we will hold our SDK. Finally move the tools folder from Downloads to our SDK location with a final mv ~/Downloads/tools ~/.android/sdk/ command. Finally, we will modify our startup script with nano ~/.bashrc again.
Add the following lines to the script:
export ANDROID_HOME="$HOME/.android/sdk"
export PATH="$PATH:$ANDROID_HOME/tools/bin"
Restart the shell to allow these changes to take effect. We will use the sdkmanager application to manage the Android SDK.
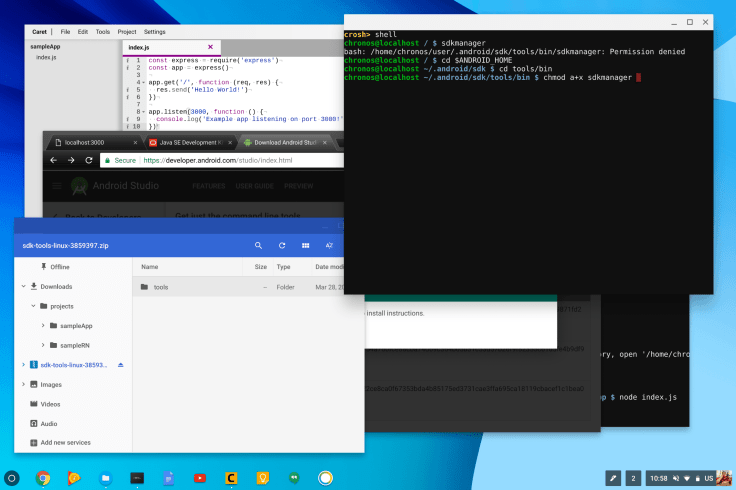
If we try to run sdkmanager, it will fail since it doesn’t have the proper permissions. Change directory to $ANDROID_HOME/tools/bin first, and so we can change the sdkmanager mode. Now perform chmod a+x sdkmanager to give it the necessary access to run.
Skipping ahead, if you were to try to perform react-native run-android, the operation would likely fail with the following response:
We’ll tackle these issues step by step.
Let’s create a blank repositories.cfg file in /home/chronos/user/.android with a touch /home/chronos/user/.android/repositories.cfg command. Install Android Platform 26 with sdkmanager “platforms;android-26” and accepting the license agreement. The reason we target 26 is so we can use the newer windowing system with ChromeOS.

We’ll also need to install Android Build Tools. Install version 26 to match the API with a sdkmanager “build-tools;26.0.0” command. This is actually more important than change the API since the default React Native Build Tools version (23.0.1) may not run properly on ChromeOS.
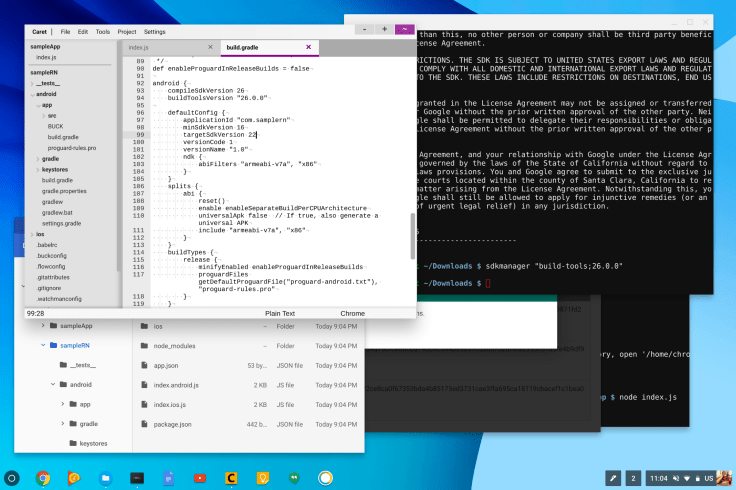
We’ll want to modify the sampleRN/android/app/src/build.gradle file and change the compileSdkVersion and buildToolsVersion to match our downloaded files. Note the use of Caret and it’s project management to do so, in the example screenshot.

We now ready to build our React Native Android app.
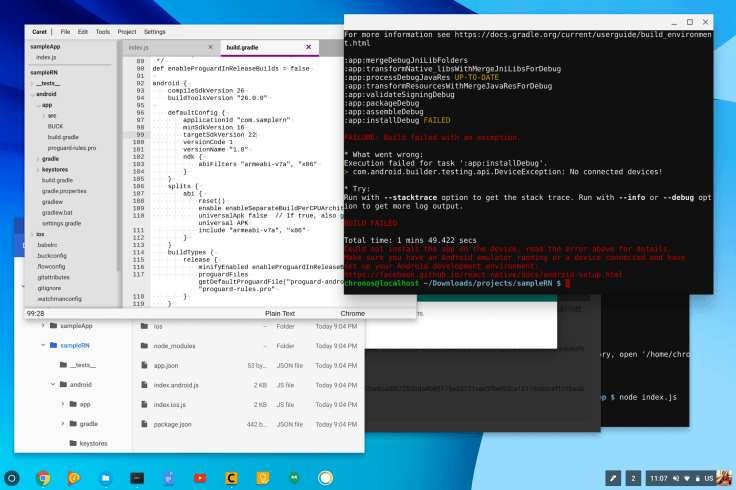
At first glance it may look like our build failed, but it didn’t! The final error is the lack of a device connected. While we could plug in an Android device over USB, instead let’s use ChromeOS as a native Android device. We’ll cover that in the next part of this guide.
Part 2 – Crosh and Nano development environment
Part 3 – Creating and modifying files from shell
Part 4 – Creating a web app with nodeJS and Caret
Part 6 – Debugging with Android Runtime for Chrome

“Create a folder called .android in the home directory with a mkdir /.android command”
It’s missing the ~. Should be mkdir ~/.android
LikeLike