")
This is a continuation of a multi-part guide. See Part 1 to get started.
Though many different programming languages can be used on ChromeOS, I’m going to be using nodeJS as an sample. Since we have setup our $HOME path to allow executables, we are going to aim to store nodeJS binaries within the $HOME path, since using /usr/local/bin may be too small for long-term development.
Instead of using chromebrew to install nodeJS, we are going to use nvm (Node Version Manager) since it will automatically manage nodeJS version and store the library in the ~/.nvm/ path.
Installing nodeJS with nvm
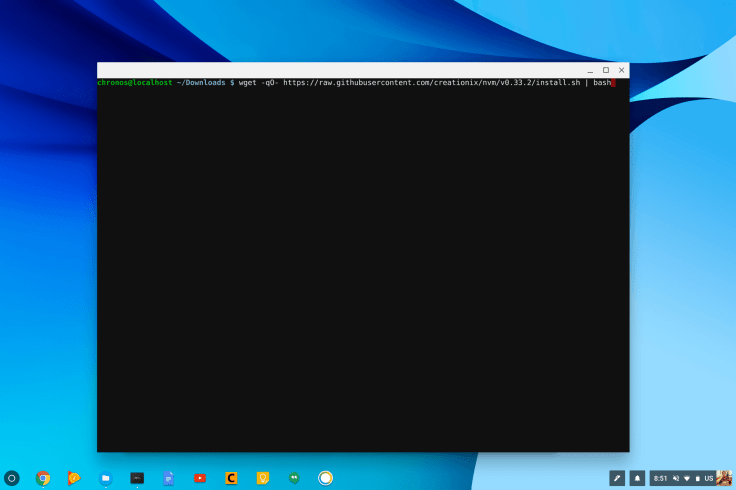
From shell, run the following command to start installing nvm:
wget -qO- https://raw.githubusercontent.com/creationix/nvm/v0.33.2/install.sh | bash
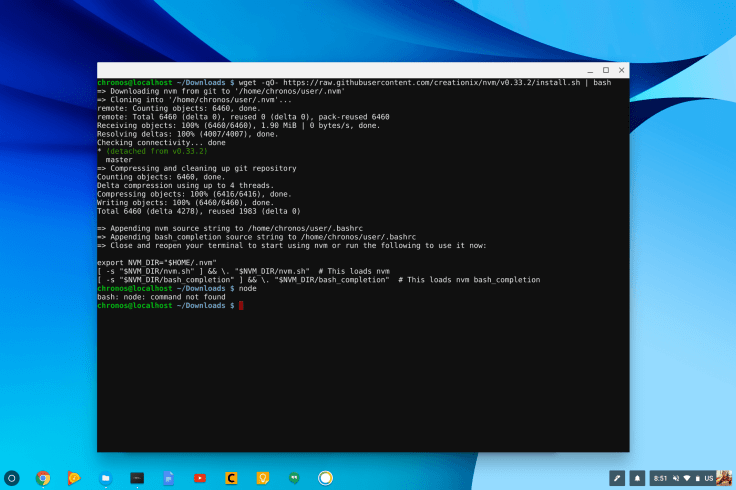
You’ll be see a response like the one in the screenshot. Notice it says that .bashrc has been updated, meaning the shell terminal has to be restarted. Also, you’ll notice that trying to run node won’t work yet. So type exit to get kicked back up to crosh and shell to get back in.

Now that the shell has been restarted, nvm commands should work. Performing nvm list will show nvm is working, but we have no nodeJS installations yet.
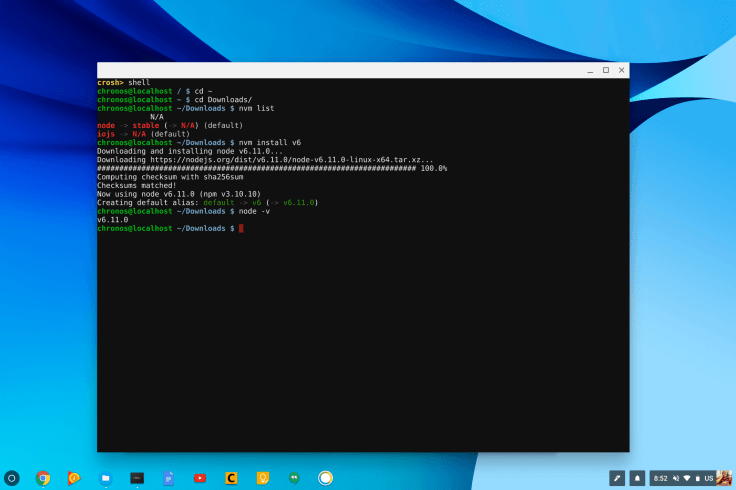
Typing npm install v6 will install the latest version of nodeJS 6.x. node -v confirms nodeJS has been installed successfully.
Creating a nodeJS project
Before get started with this project, install Caret from the Chrome Web Store:
https://chrome.google.com/webstore/detail/caret/fljalecfjciodhpcledpamjachpmelml
This should provide a more familiar development environment compared to nano. Now let’s build a project called sampleApp.

Let’s change directory to our projects folder inside Downloads. Make a directory called sampleApp and create a file called index.js inside it. The ls command will list files inside your current directory.
Now, let’s fire up Caret.
![]()
Click Project and select Add Directory. This will create a navigable list of files within a directory.
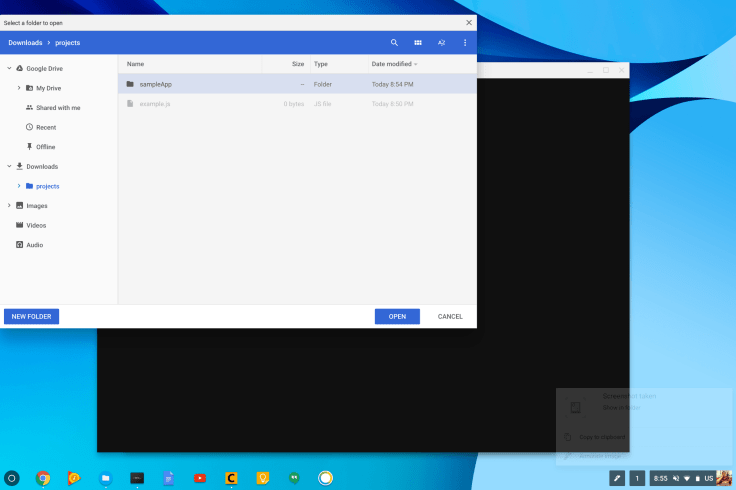
Navigate to the sampleApp folder that was created in shell, select it, and hit Open. Now we can see our index.js file we created on the left, under sampleApp. Double click it to begin editing it.
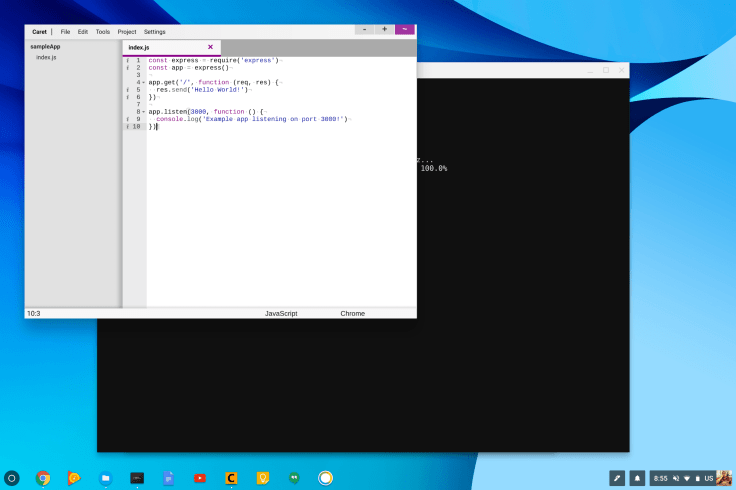
Now we can write some code! I’ve included some sample code which you can copy and paste:
const express = require('express')
const app = express()

app.get('/', function (req, res) {
 res.send('Hello World!')
})

app.listen(3000, function () {
 console.log('Example app listening on port 3000!')
})
Paste it and save your changes with Ctrl+S. We can head back to shell to try to run our code.
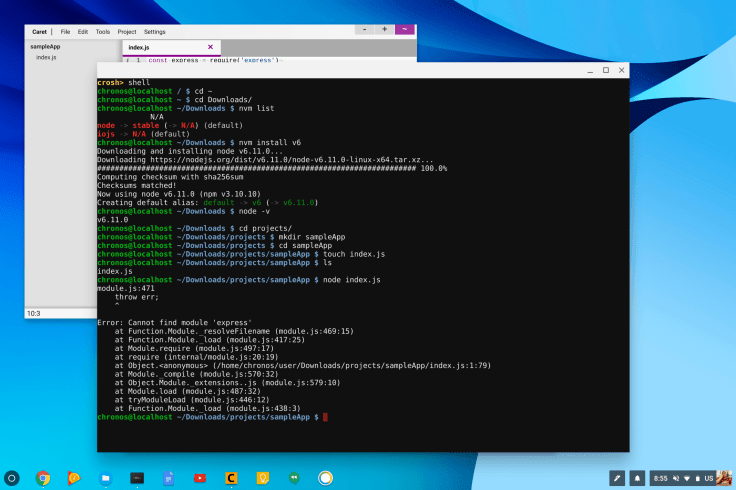
To run our code file we can node index.js from our sampleApp folder. We’ll get an error about the express not being found, which we have to install with npm. Fortunately, nvm already installed npm when installing node. 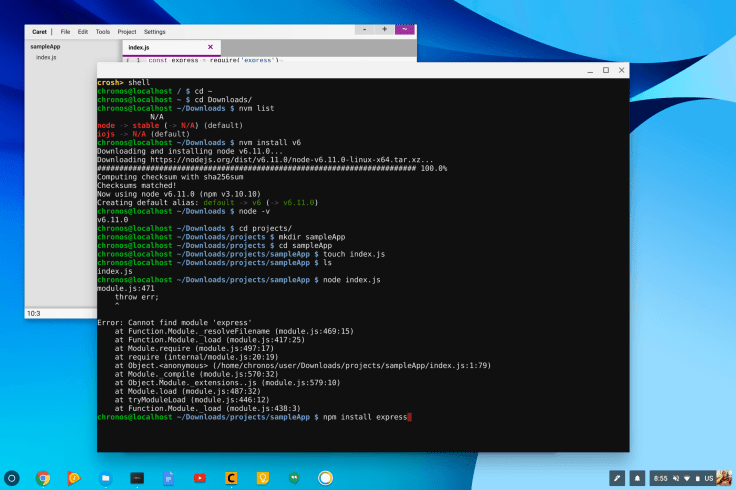
Install the express module by typing npm install express from shell.
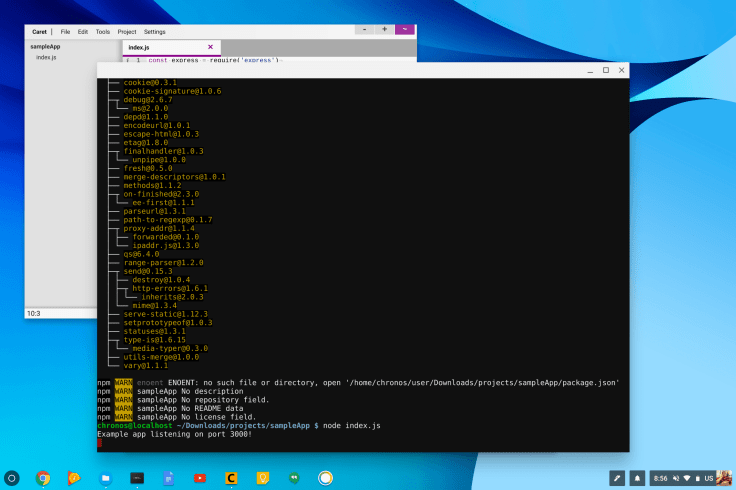
We’ll get some warning that we can ignore, but let’s retry running the app by running node index.js again. You should be presented with the console log item saying our app is listening on port 3000. So, let’s try it. Go to the Chrome Browser and access http://localhost:3000/.
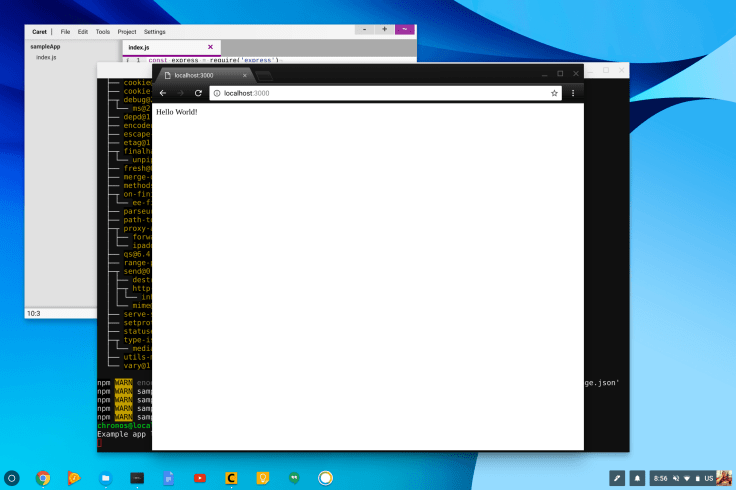
Voila! You’ve successfully created a web server, albeit an extremely simple one. Since our source code is inside our Downloads folder, we can also use Chrome Dev Tools straight from Chrome Browser by pressing Ctrl+Shift+I. After mapping to your projects folder, you can modify and test files by using DevTools Workspaces.
In the next part of the guide, we’ll leverage the ability to run Android apps natively on ChromeOS with our development environment to live test and debug Android Apps with React Native.
Part 2 – Crosh and Nano development environment
Part 3 – Creating and modifying files from shell
Part 5 – Android Development with React Native
Part 6 – Debugging with Android Runtime for Chrome

Thank you so much! I tried several different tutorials to get Node set up on my Chromebook, and this was the only one that worked. I’ll definitely be recommending your blog to anyone else I encounter who has this problem.
LikeLike